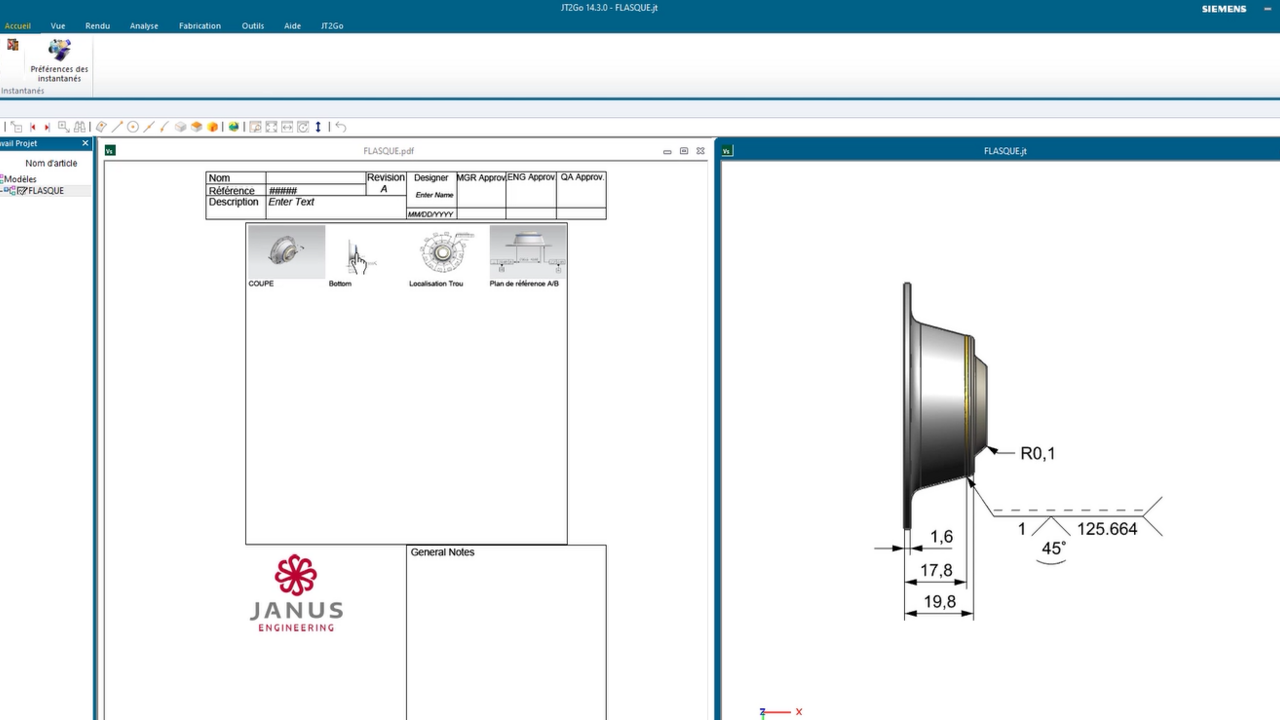
NX CAD/CAM QuickTip: Reusing PMI's for 2D drafting

How to make a smart 2D drafting

What's 2D Drafting in Siemens NX ? 

The drafting of a 3D file in a CAD software (Computer Aided Design) is the process that allows to create technical drawings from a 3D model. It consists in defining the views of the model, the dimensions, the annotations, the symbols and the notes necessary for the manufacturing of the product.

3D modeling is increasingly used, which can lead to underestimate the importance of technical drawings. However, these drawings are essential for communicating with manufacturers and can form a contract between the designer and the production floor. It is therefore crucial to ensure that these drawings contain all the necessary information to avoid costly errors and production delays.

Unfortunately, drafting is considered to be one more tedious task on a designer's to-do list. Drawing in CAD software often requires that all previously edited data on the 3D file be redefined. In addition, the 2D file of a conventional drawing is not interoperable with software solutions such as machining or 3D parametric control. All these factors make it an often time-consuming and non-value added step.

Today, with Siemens NX design and manufacturing software, it becomes easier, more intuitive and more beneficial to create these drawings. Let's see how in this tutorial.

1- Associate a visual orientation with PMIs

Each specific view will make it easier to understand, read the displayed information and/or position new PMI data.
If you don't know how to create dimensions, annotations, measurements, using the PMI tool in Siemens NX then take a look at our previous QuickTip which clearly explains how to use PMI !

If you don't want to create new views, you can also use the views already available in your part browser.

2- Launch the "Draw" application

Simply click on the " drawing " icon at the top left or via the shortcut "CTRL+SHIFT+D".

3- Create your baseline view

Click on the icon at the top left named "basic view" to start.  
Then, in the "model view" section, choose the view you want to display.

  • Learn more directly on video by watching our NX CAD/CAM QuickTip 

At this point, external content is loaded by youtu.be. If you agree to the use of cookies, you no longer need to manually accept access to this content.
Click here to confirm the cookie settings again.

4- Retrieve your PMI's

Just click on "settings" (icon "A"), still in the "basic view" tab, in the "settings" section
Then in the window that opened, click on "PMi" and choose "Aligned to drawing (complete part)", in the list "PMI type" below, you can also choose to exclude some PMI if you wish.

There you go, your 2D plan is done !

You can now position your design on your plate and you will see that your PMI are displayed accordingly.

You can also (Image n°2) add a view thanks to "basic view" as explained previously, then see to display your PMI by right-clicking on your design then click on "settings" then follow the steps explained previously. 

Emmanuel HIARDEmmanuel HIARD
Application Engineer - CAx Consultant
E-Mail: Emmanuel.Hiard@janus-engineering.fr

Application Engineer
CAx Consultant


Topics:

Subscribe to our Newsletter now and stay informed

You want to be informed in real time of all our news, new NX features, new products or services, industry news and events !


Subscribe and stay informed about our news.

.